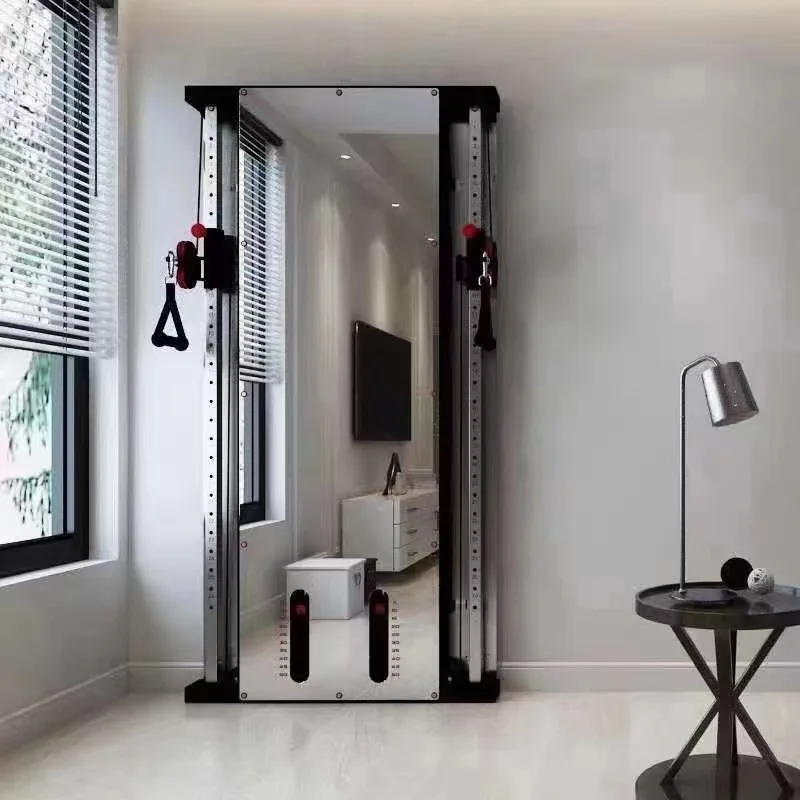
A wall-mounted trainer saves floor depth only when the room can safely accept the fixing layout and the user still has space to complete cable movements. Planning starts with the building surface, not the product image.
| Check | What to record | Why it matters |
|---|---|---|
| Wall structure | Material, thickness and fixing zone | Determines installation method |
| Clear width | Arm movement and user stance | Protects cable exercise range |
| Clear height | Machine and overhead movement | Avoids ceiling conflicts |
| Service access | Pulley, cable and fastener access | Supports maintenance |
1. Verify the mounting surface
Confirm the wall material and the intended anchor positions with the project installer. Decorative wall panels alone are not a structural fixing surface.
2. Draw the active training envelope
Mark the trainer width and height, then add the cable-arm sweep, handle travel and the user stance. Check nearby doors, mirrors, lighting and circulation routes.
3. Plan installation and maintenance access
The installer needs access to fixing points and the finished room must still allow cable, pulley and fastener inspection. Do not trap service parts behind permanent joinery.
4. Decide when freestanding is safer
A freestanding trainer can be a better choice when the wall cannot be verified, the layout may change or the buyer needs equipment that can be repositioned. Compare total footprint rather than assuming wall-mounted is always smaller.
5. Send a room brief with the inquiry
Include wall and room dimensions, surface description, photographs, intended exercises, finish preference and delivery location. This gives the factory and installer a common starting point.