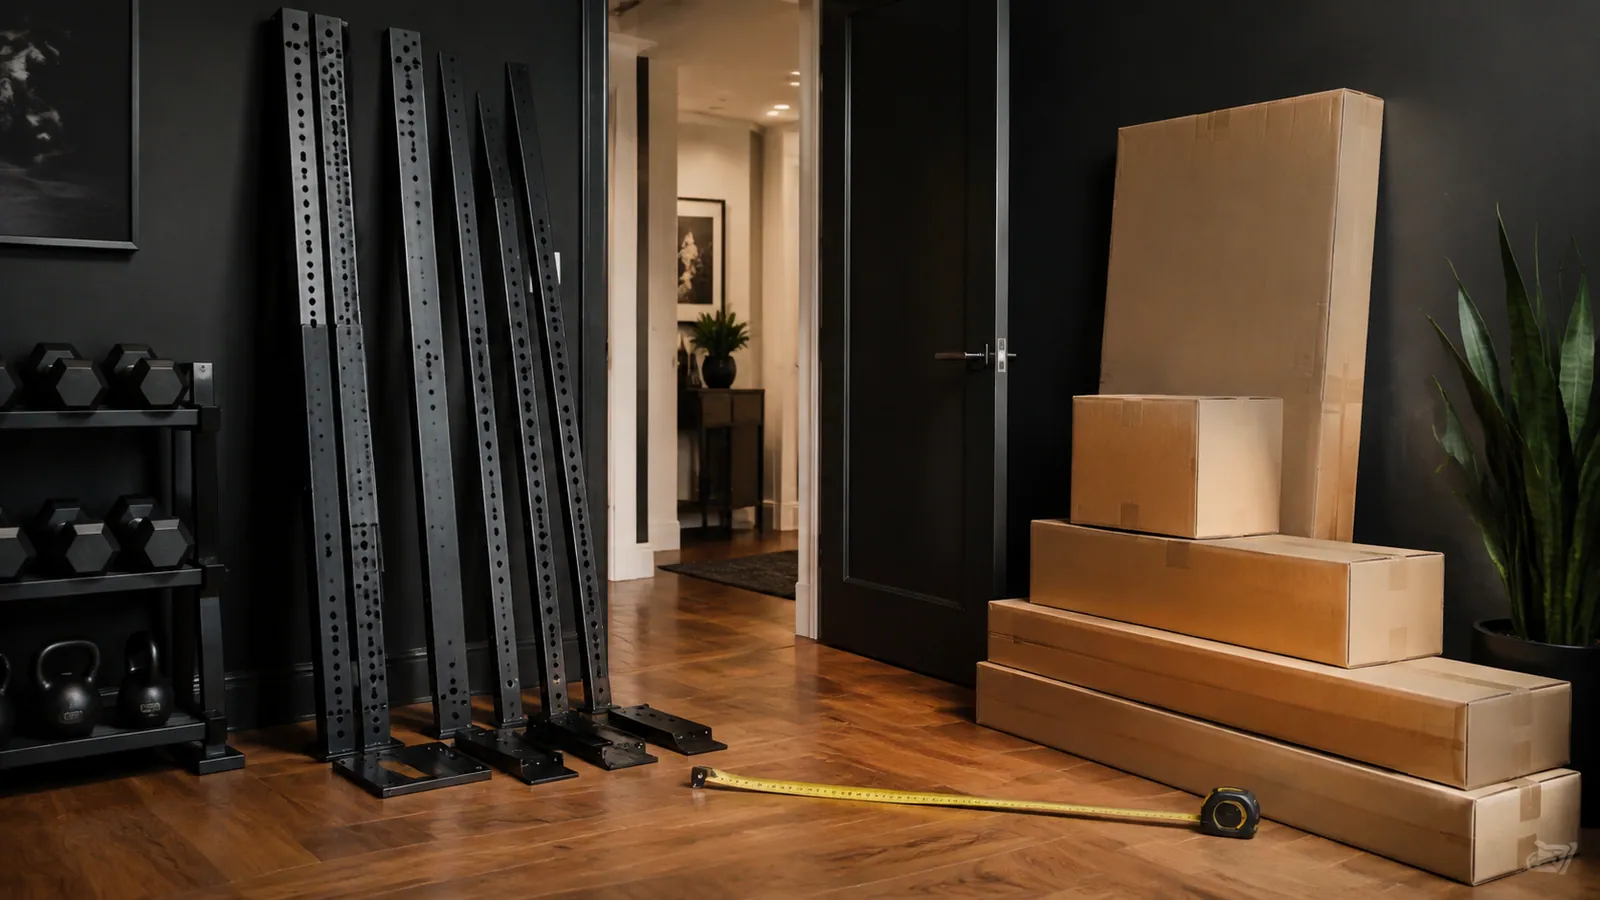
Begin with the shipment, not the product silhouette
A specification sheet normally describes the machine after assembly. Delivery is governed by different geometry: the longest upright, any welded base or side frame, the crate or carton around it and the space required for hands and protective packaging. Request a packing list and package drawing for the exact configuration rather than assuming every rack is fully knock-down.
Record package quantity and individual package weight as well as length, width and height. A carton may pass the door but still be unsuitable for manual handling on a tight staircase. Decide in advance who is responsible for kerbside delivery, room-of-choice delivery, unpacking and assembly.
Walk the route in the order the equipment will travel
Measure the clear opening after subtracting the door leaf, handles, closer arms and thresholds. Continue through the entrance hall, lift, corridor, stair flight, landing and final room door. The smallest width is not always the controlling point; a long package can clear a narrow door and then fail because it cannot rotate on the landing.
Photograph each turn with a tape measure visible. Note ceiling drops, handrails, radiators, light fittings and changes in floor level. For a basement, check the diagonal clearance from the stair pitch to the ceiling above the nose of each tread, not only the stair width.
Model the final turn before scheduling the carrier
Use a lightweight cardboard rectangle or two joined battens matching the longest package envelope. Move that mock-up through the route without removing building fixtures. This simple test reveals where a package must tilt and whether that tilt creates a new height requirement.
A lift needs a door-opening measurement and an internal diagonal, plus confirmation of its permitted load and booking rules from the building manager. Do not plan to stand a heavy package on end unless the supplier and carrier approve that handling orientation.
| Evidence to collect | Decision it supports |
|---|---|
| Package drawing | Whether the longest rigid component can turn |
| Route photos with dimensions | Whether the carrier can plan labour and protection |
| Room plan and ceiling height | Whether assembly and operation remain possible |
| Delivery service terms | Where responsibility transfers |
Choose the assembly strategy around fixed components
If the route is constrained, compare models by their largest non-removable or welded assembly—not by total machine size. Confirm whether the manufacturer permits subassembly in the destination room and whether cables, guide rods or guards require trained installation. Never cut, bend or omit a structural part to solve an access error.
Prepare a clean, level assembly zone with enough space to lay out components and keep exits usable. Protect floors without creating an unstable work surface. Keep fasteners identified by step, and follow the supplied manual and tightening sequence.
Send one access pack before the order is released
For a PBF Fitness configuration review, send the room dimensions, clear ceiling height, a route sketch, the narrowest door, stair and lift measurements, and photos of every turn. We can compare those constraints with the packing information available for the proposed model and identify questions that must be resolved before shipment.
The purchase should proceed only when both checks are positive: each package has a workable path to the room, and the assembled equipment has the clearance required for installation, adjustment and normal use. Solving only one of those checks leaves the project exposed.
- Compare multifunctional racks
- R05
- Will Any Cable Attachment Fit Your Functional Trainer?
- Check the delivery route with us