The useful measurement starts at the working position
A bench can slide through the front of a rack yet stop before your shoulders reach the correct position under the bar. The rear stabilizer, transport wheels, low-row footplate or a rear crossmember can be the limiting part. A catalogue's overall depth does not show this relationship.
Ask for a side-view drawing of the complete station and a separate drawing of the bench base. Mark the intended bar position, bench pivot and rear foot. This is a configuration check, not a request to move structural members or remove guards.
Treat flat and incline as different fit checks
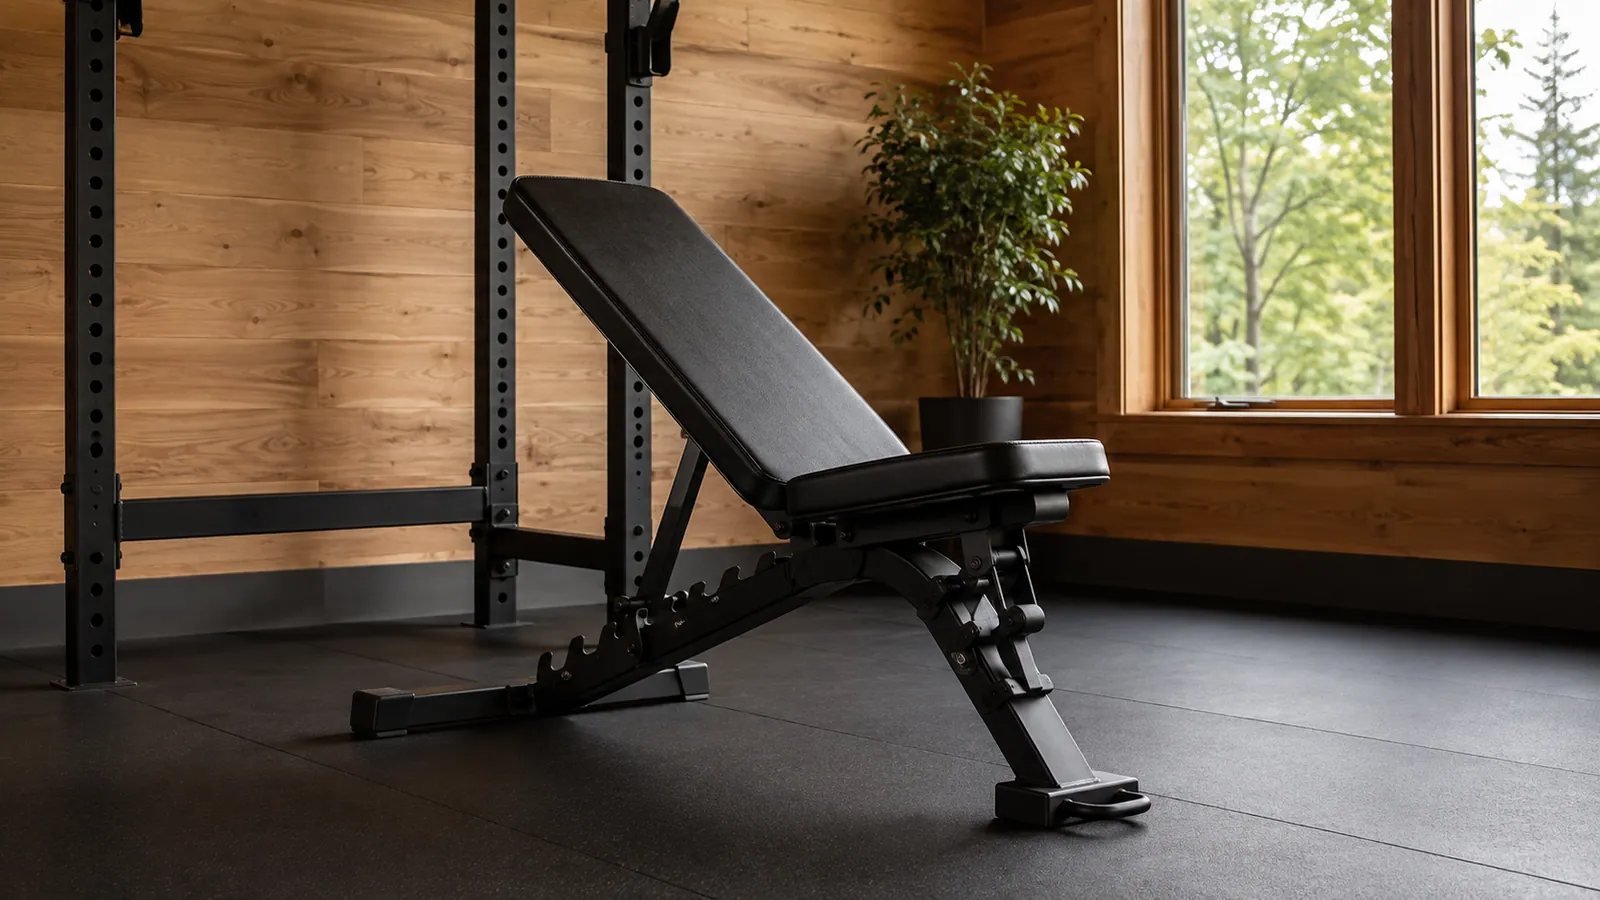
Raising a backrest changes where the supported upper body sits relative to the bench base. The bench can need a different fore-and-aft position even when its feet occupy the same-sized rectangle. Test each angle you intend to use, with the seat adjusted and locked as instructed.
For a Smith machine, use the manufacturer's specified bar-path orientation. Do not reverse the machine, remove a stop or alter the intended movement to compensate for a bench that cannot reach the required position. For free-bar work, verify both the J-cup position and the usable safety support area.
Bring the overlooked parts into the drawing
A leg attachment, front handle or unusually wide rear foot can change the operating envelope. Include the parts that will remain installed during your session. If an accessory is designed to be removed, check its removal procedure and storage position rather than assuming it disappears between exercises.
| Check | What establishes fit |
|---|---|
| Bench base | All feet on the intended level support surface |
| Adjustment controls | Hand access without moving the rack or reaching into a pinch point |
| Backrest and seat | Required locked settings clear of the station |
| Bar and safeties | Usable in the intended exercise position |
A room plan needs a moving route as well as a parking space
Roll the unloaded bench through the actual entrance to the station, using its designated handle and wheels. Include the turning space needed to switch to dumbbell work. A bench that fits only after moving a plate tree every session creates a different purchase than a bench that rolls straight into place.
Compare the actual floor finishes under every foot. Do not bridge a rack base with loose timber, raise only part of the bench or use soft improvised packing to gain clearance. An incompatible pair needs a different approved configuration, not an improvised support.
Inspect the pair before accepting the installation
With the equipment unloaded and assembled according to its instructions, confirm full locking engagement, stable contact at the feet and clearance through the required adjustment positions. Have a competent installer or trainer verify the safety setup. A fit check does not certify load capacity and is not a reason to perform a heavy proof test.
Send the measurements that settle the decision
For a PBF Fitness rack-and-bench comparison, provide your existing bench model, a side photograph with dimensions, intended incline settings and the room layout. Request written confirmation for the exact proposed station and bench combination. If incline work is essential, put that requirement on the configuration approval—not just on the wish list.
- Compare cable trainer configurations
- R05
- Can a Short Barbell Fit Your Power Rack? Measure More Than Total Length
- Review the installation environment