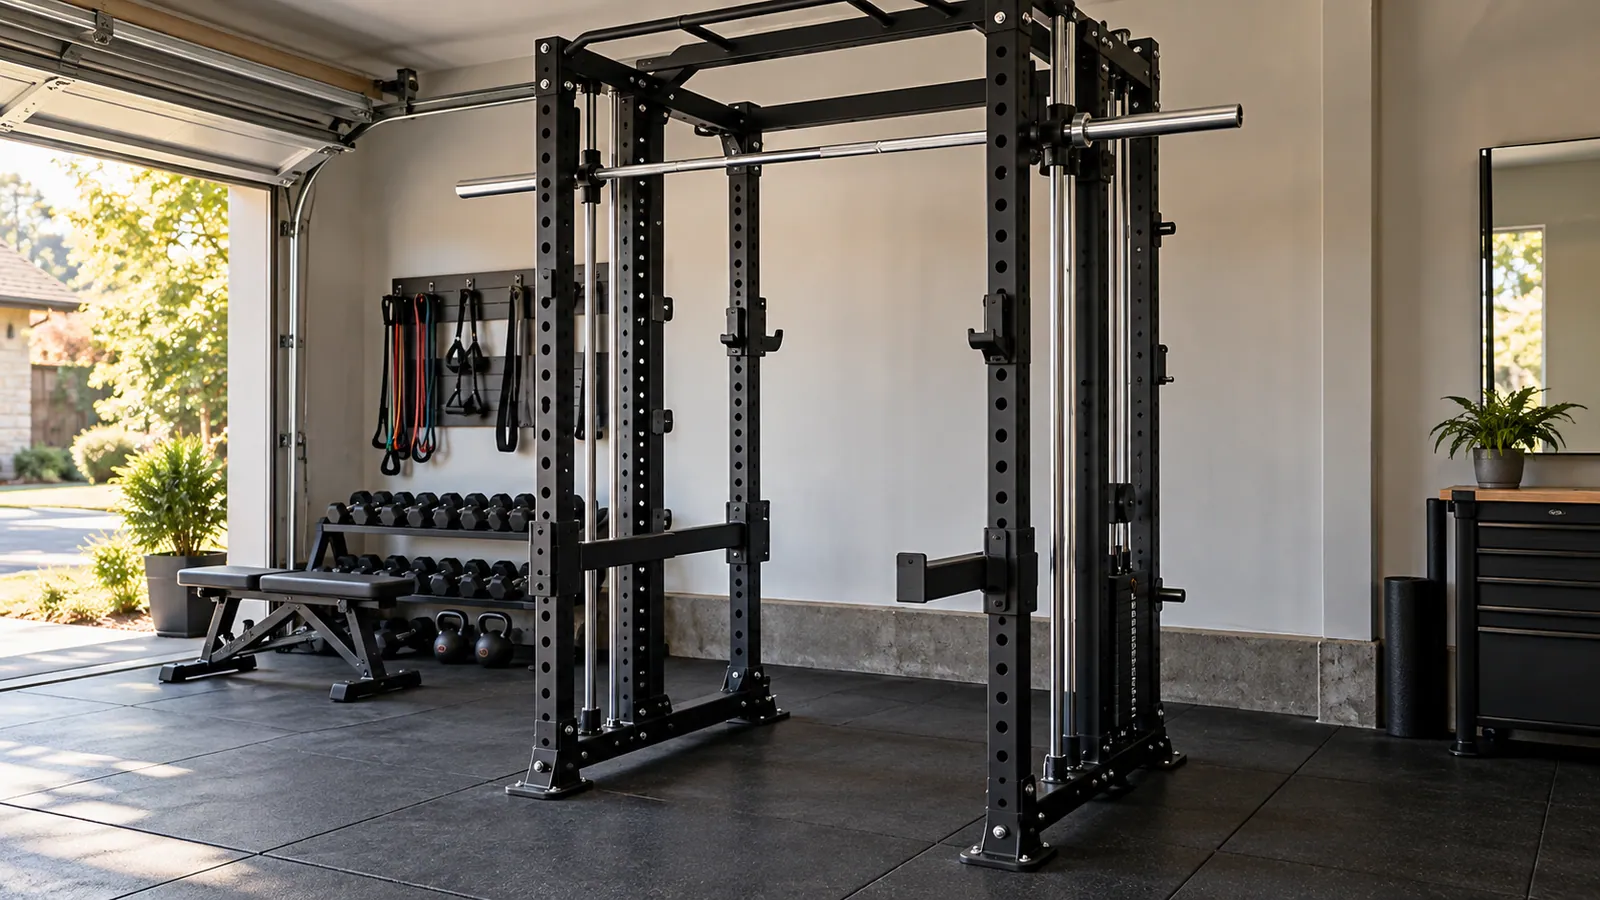
Draw both working envelopes
Record the Smith bar centre and sleeve height at its highest approved hook. Add the radius and thickness of the largest plate you will load.
Map the free bar from lift-off through the full walkout or bench setup. Include the athlete, collars and plate edges rather than drawing only the shafts.
A taller rack can park the Smith sleeves higher, but confirm the actual hook centre rather than assuming every height variant shares the same top position.
Test every shared component
Check whether trolleys, weight horns, pull-up bars and safety systems still move or install in their required positions.
Use empty bars first. Move the bench and free bar through each setup while another person watches the closest points from both sides.
Specify the rack as one system
Request a dimensioned side view for the exact rack height, depth, Smith orientation and cable option. Do not combine dimensions from different configurations.
If free-weight clearance depends on relocating the Smith bar before every set, treat that changeover as part of the operating plan and risk review.
Photograph the approved setup with dimensions so users can reproduce the free-weight and Smith changeover.
- Compare multifunctional racks
- R05
- Low-Row Footplate Position: Will Your Rack Give Full Cable Range?
- Check rack depth for your room