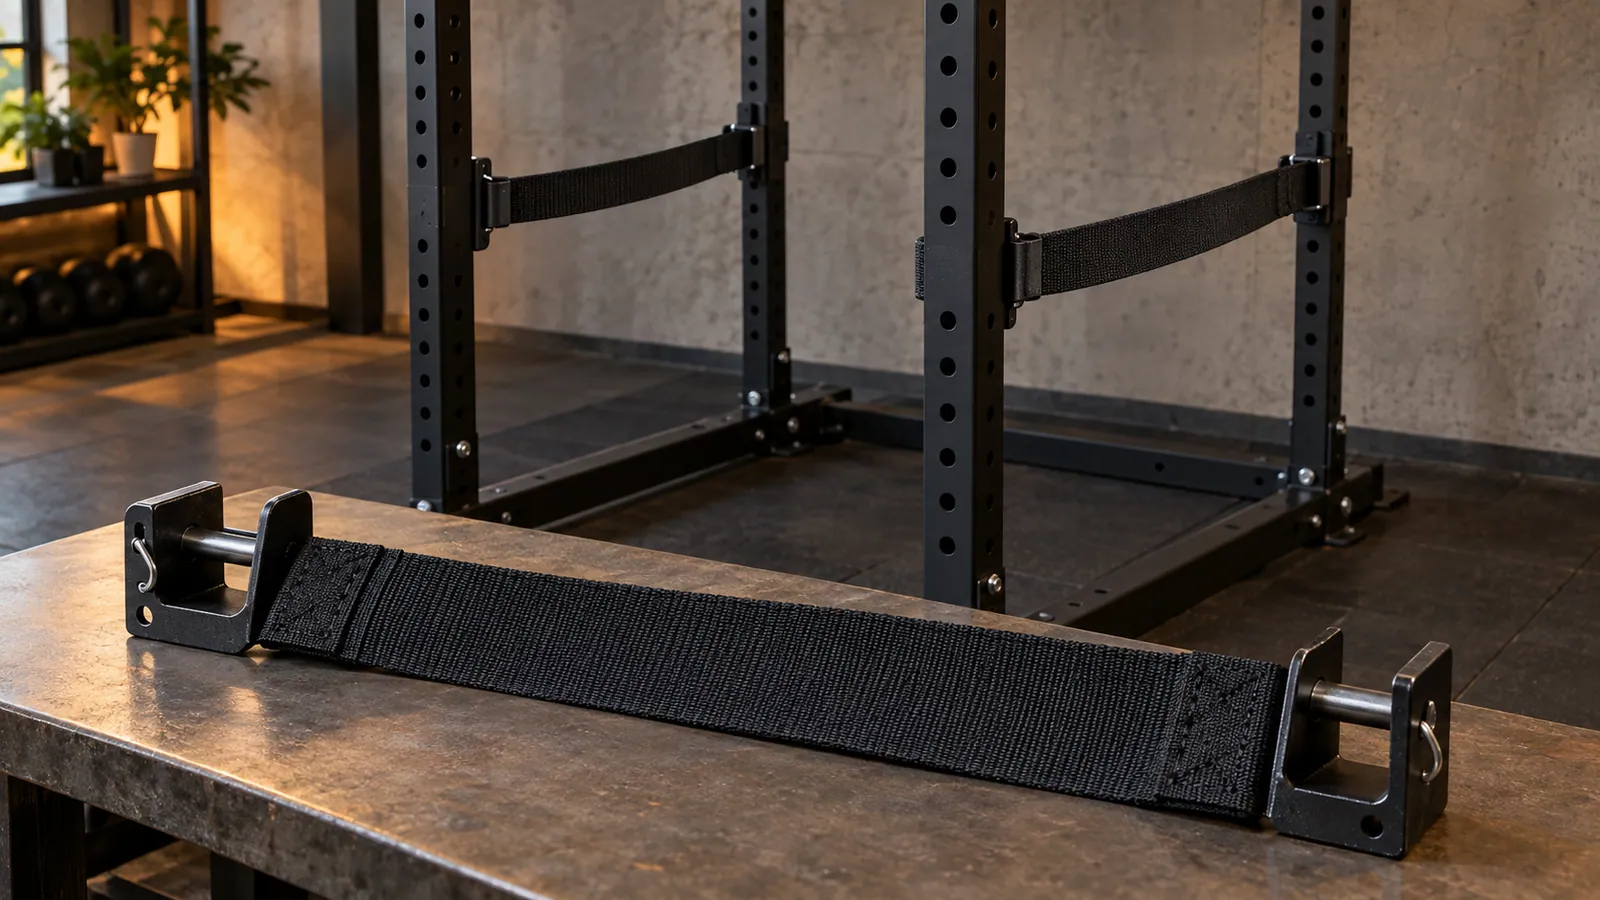
Identify what the replacement order must restore
Start with the rack identification and the safety system already fitted. Photograph both strap ends, their brackets and the retention at the upright, then record the part numbers or revision markings that are actually present. A rack depth from a sales listing is useful context, but it is not the replacement strap specification. If the original parts cannot be identified, ask the manufacturer to establish the assembly before ordering a look-alike.
Separate the fault from the purchasing decision. Damaged webbing may require a replacement textile part, while a bent bracket, worn pin or sharp contact edge can require additional work. Do not assume that every component must be replaced, or that the other components may always be reused. Obtain the manufacturer’s disposition for the identified assembly and the observed damage; keep the rack out of the affected use until that decision is resolved.
Length changes the catch geometry
The textile’s end-to-end length and its effective span when attached are different measurements. Bracket shape and attachment position contribute to the suspended geometry. Too much sag can put the catch lower than intended; a strap that is too short may not install or adjust as the approved system requires. Cutting, sewing or moving the brackets to make a replacement fit changes the assembly you were trying to restore.
REP’s Strap Safeties 2.0 page describes changes to strap length and bracket pin location. That is a concrete reason to match revisions instead of comparing only the rack’s nominal depth. It is an example from REP’s own system, not evidence that REP straps fit another brand. Ask your supplier to confirm the exact strap-and-bracket combination and its intended rack configuration in writing.
A fabric strength claim also leaves important questions unanswered. The textile alone is not the upright connection, the end fitting or the whole catch system. Confirm the permitted use of the complete installed assembly. Do not convert a textile test figure into a working load for a PBF Fitness rack or use it to justify an unapproved component substitution.
Inspect the connection as well as the weave
Inspect according to the exact manual, including the webbing, sewn ends, metal contact surfaces and retention. Rogue’s Monster Strap Safety instructions treat the assembly as a wear item and call for inspection before use. Eleiko’s Prestera manual directs damaged equipment out of use and specifies its own replacement indicator. A coloured inner layer is therefore useful only where that product’s manual defines it; its absence does not prove that every other strap is sound.
Follow the permitted installation geometry for your model. Different systems do not automatically allow the same end-height offset. Eleiko’s referenced manual specifies same-height hooks even though some product marketing discusses angled straps. Resolve such a discrepancy with the maker and the applicable manual revision. Do not transfer one manufacturer’s adjustment, tightening instruction or pin arrangement to another system.
Return to use only with a defined assembly
Do not substitute a cargo tie-down, lifting sling, repaired strap or spare pin because it appears strong enough. If damage, a missing retainer or an uncertain part combination is present, obtain approved service and replacement instructions. A commissioning check must follow the maker’s procedure; deliberately dropping a loaded bar is not a sensible way to discover whether an unidentified replacement works.
For a replacement enquiry, send the rack series and revision, the installed safety-system photographs and the exact damage or missing parts. Request the matched part list, permitted reuse of sound components and the installation check required before use. The useful outcome is a traceable complete catch system, rather than a cheaper strip of webbing that leaves the connections unresolved.
- Compare multifunctional racks
- R05
- Is Your Folding Rack Locked After You Open It?
- Review the replacement assembly I need