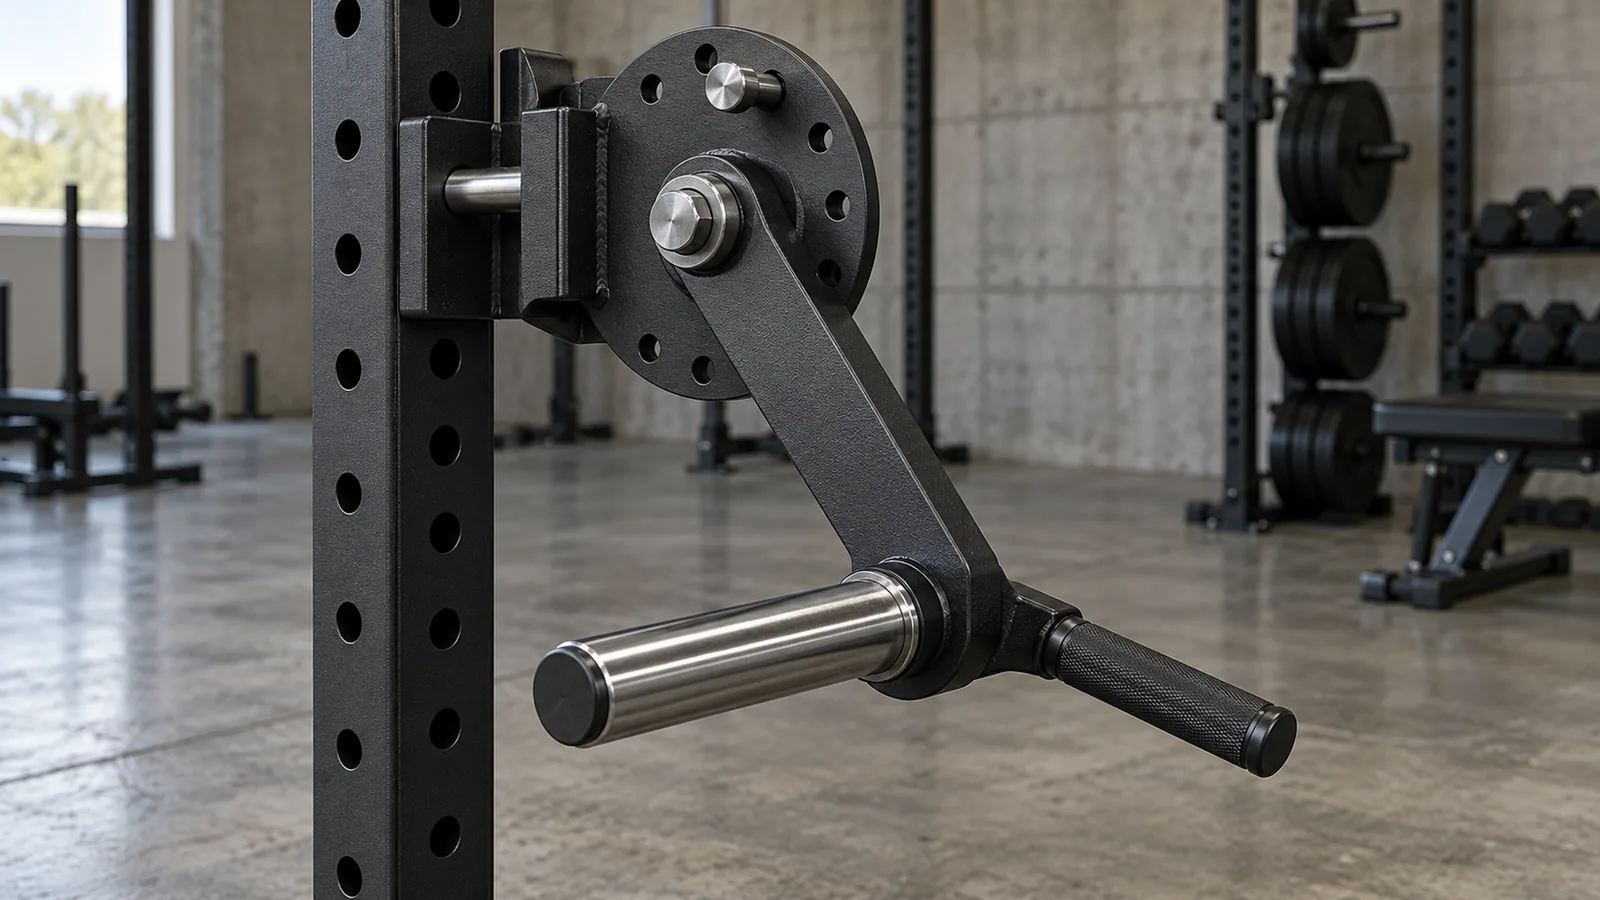
Follow the assembly from the upright to the handle
Begin at the rack connection and follow each physical part outward: mounting base, pivot, lever, adjustable handle and plate sleeve. Identify which connection fixes the device to the rack and which one deliberately rotates. A knob that adjusts a handle and the pin that retains the mounting base perform different jobs.
Send the exact rack dimensions and attachment version to the supplier, including hole spacing, usable mounting face and anything fitted behind the upright. The attachment's own instructions and stated rack range control this check. Similar tube sizes in two catalogues do not establish an approved interface.
Keep handed parts and range-setting components together
Some assemblies use handed components. The current Bells of Steel manual distinguishes left and right range discs and shows separate retention pieces. Keep that delivered set intact; do not swap parts merely because their bolt holes look alike or assume two unmatched levers will stop in the same position.
Ask the supplier to demonstrate the approved starting-position adjustment with the unit unloaded. Establish how the setting engages and what the supplied stops do. A circle of holes is not a universal angle scale or proof that every position can carry the same load. Do not remove a stop or leave an adjustment only partly engaged to obtain more travel.
Measure the plates along their whole path
A plate sleeve moves with its lever. Draw the largest permitted plate in the intended position and check its path near the upright, lower crossmember, floor and neighbouring station. Include the space needed to put plates on and remove them; the empty sleeve alone understates that requirement.
Confirm the sleeve and retention method supplied for the exact unit. The number printed on a plate does not describe its diameter or thickness, and an attachment's load figure does not specify how many plates will fit. Use the maker's loading and changeover instructions instead of hanging a cable, band or extra weight from a convenient part of the lever.
Fit the user without turning a mounting check into a training claim
The handles and any adjustable supports must reach the intended user within the equipment's approved settings. Ask for the relevant fit demonstration and a drawing of the working area. Moving the whole attachment higher or lower also changes the plate sweep, so recheck the nearby structure after the position is chosen.
A guided lever does not establish that a movement is appropriate for every shoulder or that it reduces injury risk. Keep the purchasing decision about the equipment's configuration, adjustment and available space. Training suitability belongs with an appropriately qualified professional, rather than a claim inferred from a product photograph.
Is this the same purchase as a pair of jammer arms?
No. Confirm the specific device's pivots, handles, range-setting system, stops and loading arrangement. A rack that accepts a long lever arm does not automatically accept this assembly.
Can I attach the rack cable to the lateral-raise lever?
Use only a connection and complete configuration expressly approved for that device. A user video or an unused hole does not authorize changing its resistance system.
Specify the station and its changeover together
MIKOLO and Bells of Steel describe different mounting variants in this category. Treat each as its own assembly, not as a shared compatibility standard. For your enquiry, list the rack reference, proposed device, mounting side, adjacent accessories, intended plates and the space available for loading and changing settings.
Before handover, confirm the supplied retention parts, readable setting marks and any rack securing requirement. Keep hands clear of moving gaps and take the station out of use if a pivot binds, a mount moves or a required retainer is missing. Request the maker's correction rather than adding homemade spacers or loosening the joint to make it turn.
- Compare multifunctional racks
- R05
- Folding Rack GHDs: Reserve the Working, Folded and Entry Space
- Check a lateral-raise attachment for my rack