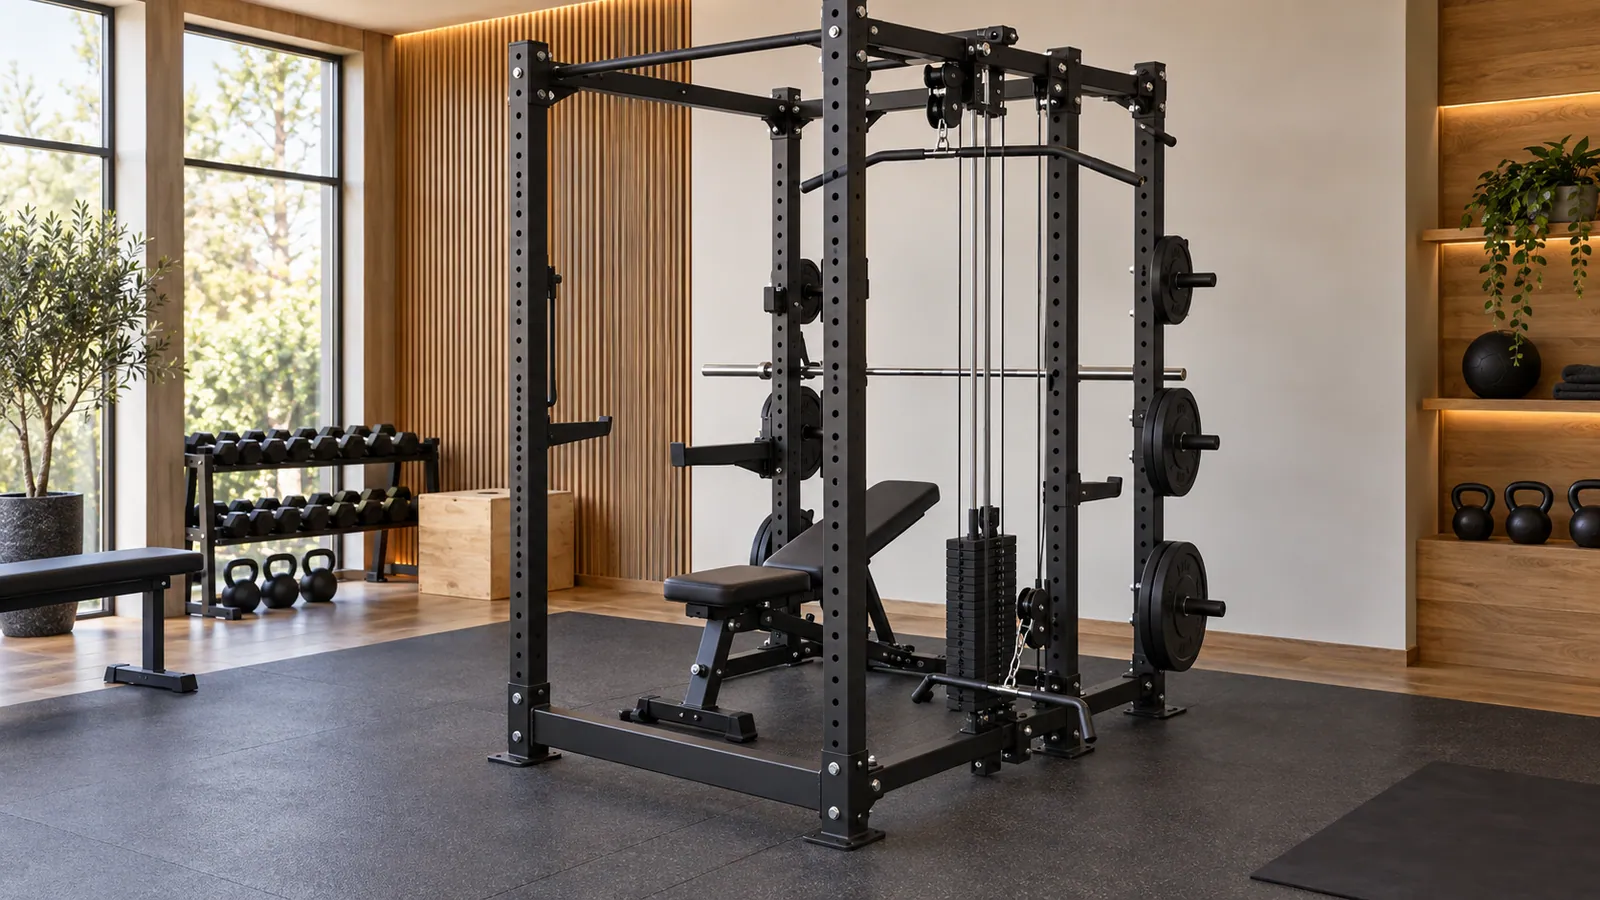
Identify the stabilizer’s assigned job
A rear base member may brace the lower uprights, provide an attachment point or form part of a no-bolt configuration. These functions are model-specific and should not be inferred from appearance.
Start with the rack manual and current accessory page. Depth, upright series, mounting face and cable system version can change whether a stabilizer is required or allowed.
Verify the exact rack and attachment combination
Some cable or low-row attachments use the rear member as an anchor. Confirm the exact fasteners, pulley clearance and assembly order rather than adding a generic crossbar later.
If the manual still requires anchoring, keep that requirement. A stabilizer, plate storage or machine weight does not independently cancel instructions for the selected configuration.
Protect the bench and user work zone
Place the bench through flat and incline positions and check rear-foot travel, adjustment-handle access and the route to a low-row footplate. A low bar can block the bench before the frame footprint suggests a conflict.
Check walking routes and toe clearance behind the rack, especially in shared training rooms. Keep loose plates, handles and spotter arms off the stabilizer unless the product explicitly supports that use.
Record the final installation decision
After assembly, verify level contact, bolt torque per instructions, cable alignment and all operating clearances before loading. Recheck after the initial service interval specified by the manufacturer.
Send the room plan, exact rack model, depth, anchoring surface and intended cable or storage options. The approved configuration can then be shown on one installation drawing.
- Compare multifunctional racks
- R04
- Westside Hole Spacing on a Power Rack: Does It Matter for Bench Press?
- Compare rack safety options